Installation
Requirements
QGIS side (no special requirements):
QGIS 3.16 or later
No additional Python packages are required inside QGIS
External Python environment (installed separately — see Environment Setup ):
Python 3.8+
PyTorch 1.10+
rasterio ≥ 1.2.0
geopandas ≥ 0.10.0
opencv-python ≥ 4.5.0
segmentation-models-pytorch ≥ 0.3.0 (optional but strongly recommended)
numpy, scipy, scikit-learn, matplotlib, tqdm
transformers, timm (optional — required for SegFormer, HRNet, SwinUNet)
Important
SemanticSeg4EO does not install PyTorch or any deep learning library into QGIS. All processing runs in a separate Python environment that you configure once. This keeps your QGIS installation stable and free of dependency conflicts.
Step 1 — Install the QGIS Plugin
Download
SemanticSeg4EO.zipfrom the GitHub releases page.In QGIS, open Plugins → Manage and Install Plugins.
Click the Install from ZIP tab.
Browse to the downloaded
SemanticSeg4EO.zipfile and click Install Plugin.Once installed, go to the Installed tab, find SemanticSeg4EO, and make sure the checkbox is ticked to enable it.
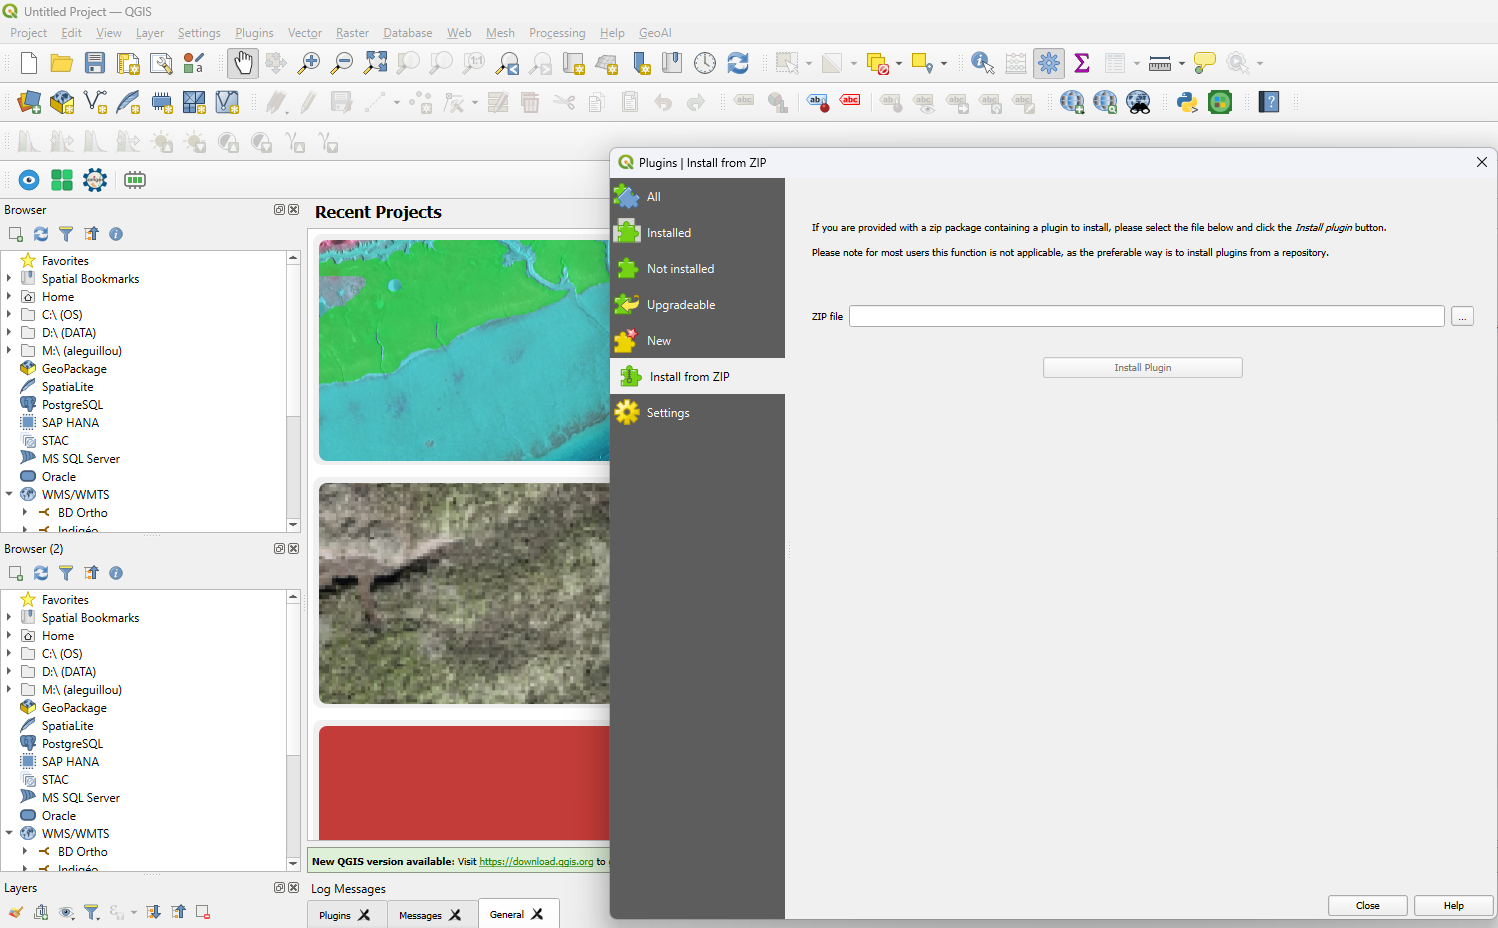
Installing the plugin from a ZIP file in QGIS.
After enabling the plugin, you will see a new SemanticSeg4EO entry in:
The Raster menu
The QGIS toolbar (icon
 )
)
Step 2 — Create the External Python Environment
After installing the plugin, you must create the external Python environment before any processing can happen. Proceed to Environment Setup.
Updating the Plugin
To update SemanticSeg4EO:
Download the new
SemanticSeg4EO.zipfrom GitHub.In QGIS, go to Plugins → Manage and Install Plugins → Installed.
Uninstall the existing version, then repeat the ZIP installation steps above.
Note
Your config.json (environment path) is stored inside the plugin folder.
After an update, you may need to re-run the Environment Setup Wizard once.
Uninstalling
In QGIS: Plugins → Manage and Install Plugins → Installed
Select SemanticSeg4EO and click Uninstall Plugin
Optionally, delete the external Conda/venv environment you created.